How To Create A Tech Pack For Custom Sportswear.
The single document that determines how close your sample comes to what you actually pictured — and what to send us if you don't have one yet.
Published — True Fit Sportswear Team
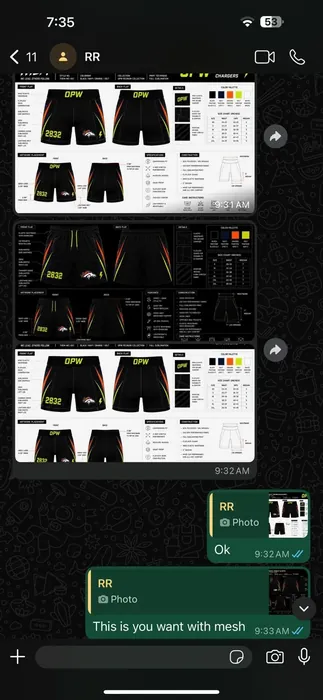
A real tech pack, exchanged and confirmed over WhatsApp before we cut a single piece.
What A Tech Pack Actually Is
To create a tech pack, put six things into one document (a PDF, slide deck or spreadsheet is fine): front and back flat drawings, a measurement table for every size, the fabric type and weight, color references, construction and trim notes, and branding placement. That document is the instruction sheet a factory builds your garment from. The clearer it is, the closer your first sample lands to what you pictured, and the fewer revision rounds it takes to get there.
The Core Elements A Good Tech Pack Includes
Front and back flats. Simple line drawings of the garment laid flat, front and back, plus a close-up where a detail needs it (a collar, a pocket, a curved panel). They don't need to be professional: a clear hand sketch, a marked-up reference photo or the flat of a similar garment all work. Draw panel seams as lines so the factory can see exactly where fabric changes or a print breaks.
A size chart. Measurements for every size you need produced, usually as a simple table (XS through 4XL, for example). State whether the numbers are body measurements or finished-garment measurements. Mixing the two up is one of the most common reasons a sample fits differently than expected. The next section lists what to measure.
Fabric and GSM spec. The fabric type (polyester, poly-cotton, BT lycra, mesh) and weight in GSM (grams per square meter) you want, or "match this fabric" if you're sourcing from an existing garment. Our fabric weight and GSM guide explains which weights suit which use.
Color references. Pantone (PMS) codes if you have them, plus a reference photo or a physical swatch. "Match this exact shade of blue" is far more reliable than a color name alone. Colors on a screen rarely match dyed or printed fabric exactly, so treat the sample as the real color check.
Construction notes. Panel placement, seam type (flatlock or overlock, for example), mesh ventilation zones, neck and hem finishing, and trims such as zippers, drawcords and waistband elastic (with the width). Anything specific about how the garment should be put together belongs here.
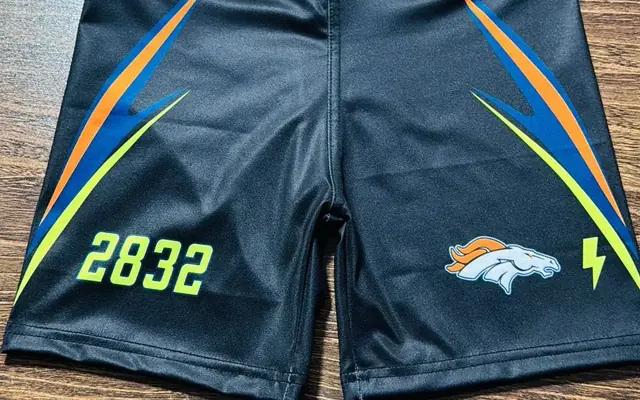
Branding and labeling. Where your logo, numbering or wordmark goes (state the size and its distance from a seam or the collar), the method (sublimation, embroidery, screen print), and any neck label or hang tag requirements. Our decoration methods guide helps you pick the method.
Points Of Measure: What To Measure On Common Garments
Measure a garment you already like, laid flat on a table, and note the numbers in either centimeters or inches (just say which). These are the standard points to include:
- T-shirt or jersey: chest width (across the garment, about 1 inch / 2.5 cm below the armhole), body length (from the high point of the shoulder to the hem), shoulder width, sleeve length, sleeve opening, neck opening and hem width.
- Shorts: waist (relaxed, and stretched if it has elastic), outseam, inseam, front and back rise, thigh width and leg opening.
- Leggings: waist, rise, inseam, thigh width and ankle opening.
A laid-flat chest width is half of the full circumference, so double it if you are comparing against a body measurement. It also helps to agree a tolerance with the factory, since finished measurements commonly vary by about 1 cm (3/8 inch) from the chart. If you need several sizes, you do not have to measure each one: give the base size and the difference between sizes. Our sizing and grading guide explains how that step-up works.
Don't Have A Formal Tech Pack? Start Here Instead
Most first-time brands don't arrive with a polished tech pack, and that's fine. It's not a requirement to start a conversation. Send whatever you have from this list and our team will help turn it into a proper spec:
- A reference photo of a similar garment, front and back, or a rough sketch
- Measurements of a garment that fits the way you want yours to
- Your logo as a vector file (AI, EPS, SVG or PDF) if you have one, or the highest-resolution image you can find
- Your colors, as codes, swatches or photos
- The sizes and the rough quantity you're picturing
That's ODM in practice: you bring the idea, we build the tech pack around it. See our OEM vs. ODM guide for the full distinction, and our private label page for how that works with your own branding.
Why This Document Matters More Than It Seems
Vague specs are the biggest cause of a sample missing the mark. It is rarely fabric availability or factory skill; it is ambiguity in the brief. These are the mistakes we see most often:
- Giving only a front view, so the back panels, yoke or print placement are guessed
- Naming a color ("royal blue") with no code, swatch or photo
- Listing a logo with no size or position, so it ends up too big or too low
- Sending a low-resolution logo that cannot be reproduced cleanly at the size you want
- Giving measurements without saying whether they are body or garment measurements
- Notes on different pages that contradict each other, such as one page saying mesh sides and another saying solid sides
A tech pack that settles measurements, color and construction up front means fewer sample rounds, which is the shortest path from idea to a bulk order you're confident in.
A Quick Checklist Before You Send Yours Over
- Front and back flats or clear reference images
- A size chart covering every size you need, marked as body or garment measurements
- Fabric type and weight (or a reference garment to match)
- Pantone codes or clear color references
- Construction and trim notes
- Branding placement, size and application method, with logo files attached
Building a tech pack for a team kit specifically? See our football kit, rugby or basketball pages for the components most club orders start from, and our team uniform ordering guide for the roster side of the job.
What Happens After You Send It
Once we have your tech pack, complete or partial, our production team reviews it and flags anything ambiguous or missing before cutting a single piece of fabric, rather than guessing and hoping the sample lands right. That back-and-forth usually happens over WhatsApp in plain language, not a formal review process, so questions tend to get answered quickly. Samples have no minimum quantity (even one piece) and typically take 8–10 days; see our samples page for how that works, and our process page for the stages that follow.
Revising A Tech Pack After The First Sample
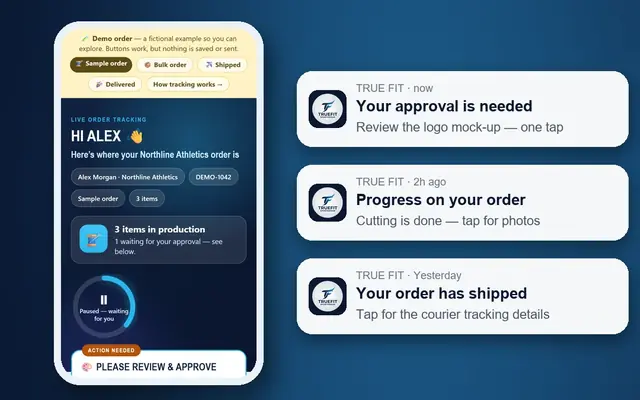
It's normal for a first sample to reveal something the tech pack didn't fully capture: a seam that sits differently than expected, or a fabric that drapes heavier than the swatch suggested. That's exactly what the sample stage is for. We update the tech pack with whatever changed and confirm it with you before touching bulk production, so the document driving your bulk order reflects what was actually approved, not just the original brief. Every order also has a private tracking page where approvals are recorded before cutting.
Keep Your Tech Pack On File For Reorders
Once a design is approved and produced, the finalized tech pack becomes the reference for every future reorder. A new season, a size top-up or a colorway variation can all be quoted and produced faster the second time, since the construction and fit are already locked in and confirmed against a real finished garment, not just a drawing. Keep your own copy too, and see our guide to reordering custom sportswear for what to send when you come back.